How to Install LocalWP on Mac M3

Post image

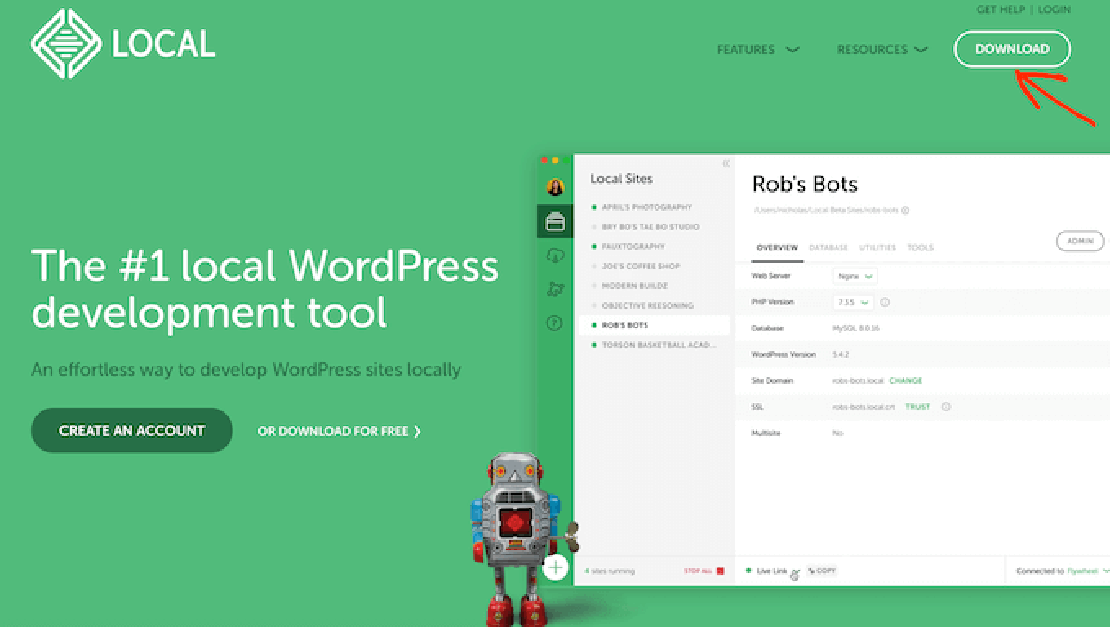
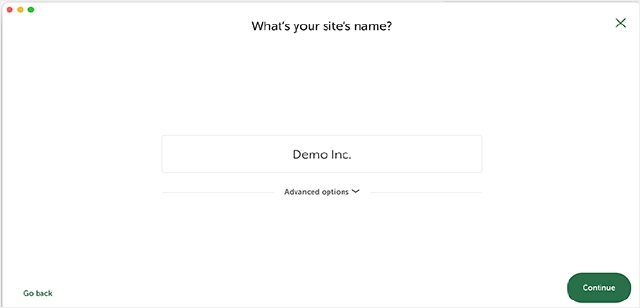
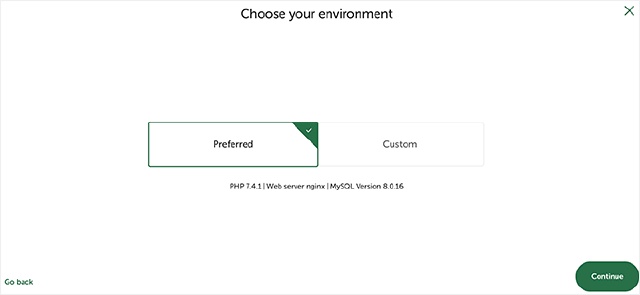
The #1 local WordPress development tool for Mac is a free tool called “Local”

Download and Install Local on Mac M3

  • Go to Local download page and click the “download” button
  • Fill in the information needed and click on the “Get It Now” button
download local
  • Open your download folder and double click on the binary that was downloaded to start the installation. Follow the prompts and keep defaults if prompted. For mac users, drag the binary into the “Applications” folder. And launch Local.
install local
  • Create a new local Wordpress site
new site
  • Follow the prompt and keep the default configuration
site name
undefined
  • To finish setting up Wordpress, chose a Wordpress username and password (will be set as admin account).
undefined
  • If Mac prompts you for access to create the site, just enter your Mac password and click “OK”

SSL Certificate

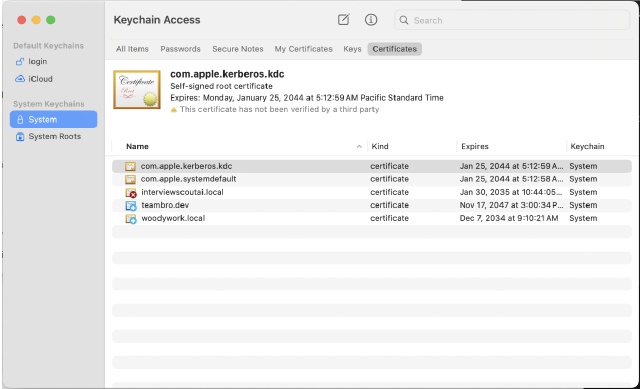
By default, the Wordpress site comes with a self signed certificate but can trust it to avoid seeing the warning in the browser

  • On your project page, click on the “Trust” button for the SSL certificate and this should take care of it!
  • Sometimes in newer versions of MacOS, you will see an error message appearing on top of the window. This means the process has failed and we will have to do it manually
  • Open the “Keychain access” and click on system
  • You should now see you site cert with a red cross. Double click on it to open the detailed view
undefined
  • At the top, click the “Trust” dropdown menu and for the line “when using this certificate”, select “Always trust”
undefined
  • If Mac prompts you for access to create the site, just enter your Mac password and click “OK”
  • Now you should be good to go. Close your Keychain window and restart Local. You should now see a “trusted” message next to the SSL line

Modifying Wordpress to use https

  1. On your project page, Click on the “site shell” button
  2. A new terminal window should be coming up, wait for the setup script to finish.
  3. Once the terminal is ready to user, run the followinf command (replace the website by the name of your Wordpress):
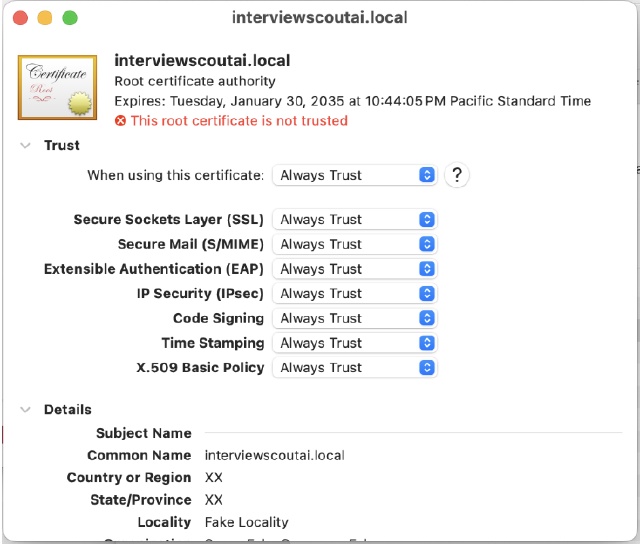
wp search-replace 'http://interviewscoutai.local' 'https://interviewscoutai.local'

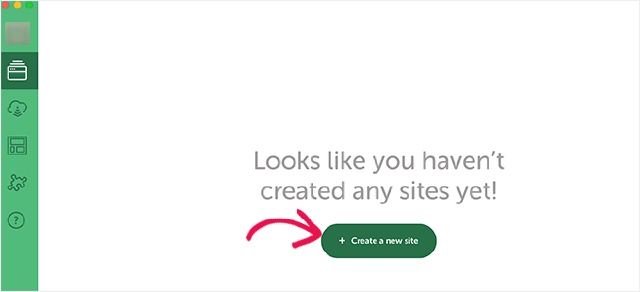
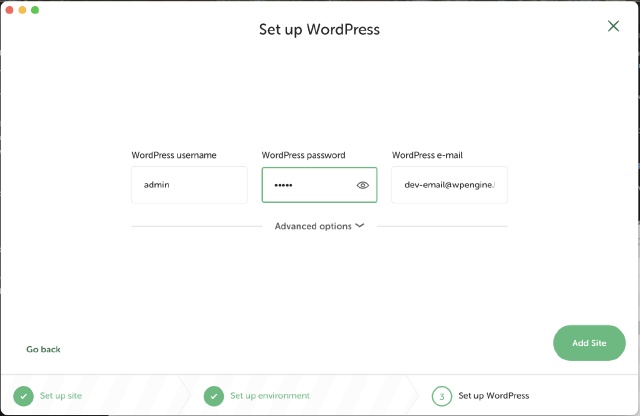
And now you are all setup with a brand new default Wordpress, ready to be tinkered with :D

You May Also Like